
A Diy Trick for Growing Mushrooms Using Coffee Grounds
You can reuse coffee grounds to cultivate gourmet mushrooms with minimal effort.
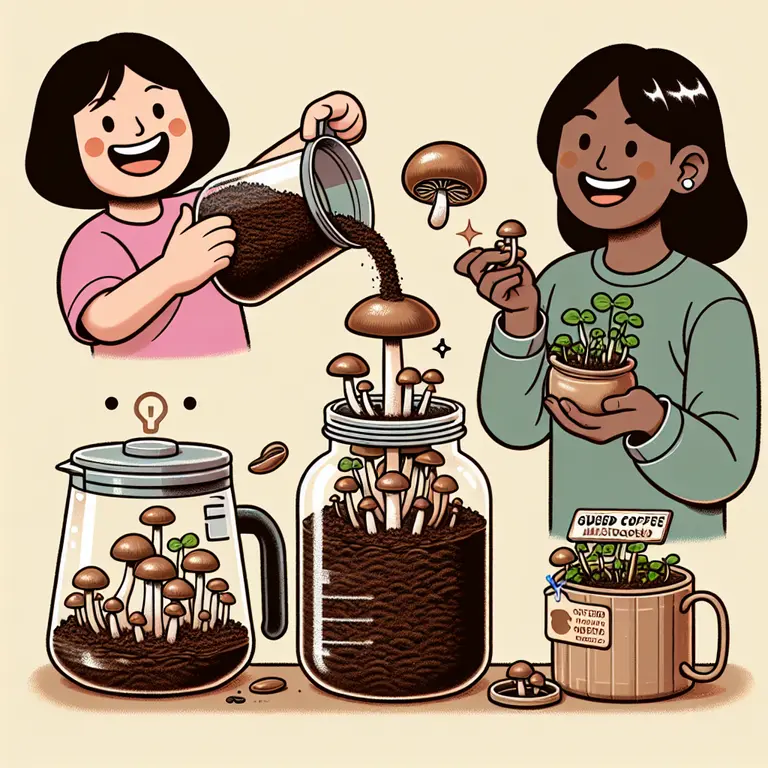
 Watch on YouTube
 Watch on Rumble
Introduction
Mushroom cultivation is often seen as a complex and space-intensive task requiring specialized equipment, sterile laboratory conditions, and a deep understanding of fungal biology. For many people, the idea of growing their own gourmet mushrooms at home feels like a distant aspiration rather than a practical weekend project. However, a lesser-known fact among DIY enthusiasts, urban gardeners, and sustainability advocates is that you can grow high-quality gourmet mushrooms using nothing more than spent coffee grounds, a bag of mushroom spawn, and a little patience.
This approach is not merely a novelty. It sits at the intersection of waste reduction, food sovereignty, and accessible science. Every year, millions of tons of spent coffee grounds are discarded globally, despite being rich in nitrogen, potassium, and trace minerals that fungi find extraordinarily hospitable. By redirecting this stream of organic waste into a productive growing medium, home cultivators can produce fresh, flavorful mushrooms while simultaneously keeping usable material out of landfills. The result is a project that is equal parts culinary, ecological, and educational, accessible to beginners while remaining genuinely interesting to experienced growers.
History and Background
The use of organic waste materials as mushroom substrates has deep roots in traditional mycology and agricultural practice. Long before the modern specialty mushroom industry emerged, farmers across East Asia cultivated fungi on materials like rice straw, sawdust, hardwood logs, and agricultural byproducts. The underlying principle was always the same: mycelium, the vegetative network of thread-like cells that constitutes the body of a fungus, thrives in environments that are moist, rich in carbon and nitrogen compounds, and free from competing organisms.
Coffee grounds fit this profile remarkably well. Brewed coffee grounds retain a carbon-to-nitrogen ratio that closely mirrors that of more traditional substrates like straw, and they retain moisture efficiently without becoming waterlogged. Crucially, the brewing process itself subjects the grounds to temperatures high enough to kill off many competing bacteria and mold spores, giving mushroom mycelium a significant head start in colonizing the material.
The practice of using spent coffee grounds for mushroom cultivation began to gain serious attention in the early 2000s, partly driven by the rise of urban farming movements in cities where space and access to conventional agricultural materials were limited. Organizations and researchers began documenting successful grows using coffee waste, and the technique spread rapidly through online communities, mycology forums, and sustainability networks. Today, it is recognized not only as a legitimate growing method but also as a compelling model for circular resource use, where the output of one process, in this case brewing coffee, becomes the input for another.
Oyster mushrooms, belonging to the genus Pleurotus, emerged as the ideal candidate for this method. They are among the most aggressive and adaptable of all cultivated fungi, capable of colonizing a wide variety of substrates with minimal encouragement. Their mycelium spreads quickly, outcompeting many contaminants before those organisms can establish themselves. Oyster mushrooms also fruit prolifically, often producing multiple flushes from a single block of substrate, making them highly rewarding for home growers working with limited materials.
The DIY Method: From Grounds to Grain
The practical process of growing oyster mushrooms on coffee grounds is straightforward enough to complete in a single afternoon, with the bulk of the work being patient observation over the following weeks.
To begin, you will need spent coffee grounds collected ideally within 24 to 48 hours of brewing. Freshness matters because older grounds, especially those left at room temperature, can develop colonies of green or black mold that will compete aggressively with your mushroom spawn. If you are collecting grounds over several days, store them in a sealed bag in the freezer until you have enough to work with, then allow them to thaw completely before use. You will also need oyster mushroom spawn, which is widely available from online mycology suppliers and typically comes in grain or sawdust colonized with mycelium. A clean sealable container or heavy-duty plastic bag, along with some cardboard or paper towels, completes your material list.
Because the brewing process already pasteurizes coffee grounds to a useful degree, formal sterilization is often unnecessary. However, if you are working with grounds more than two days old, or if you notice any signs of contamination, briefly boiling the grounds and allowing them to cool completely before use is a reliable precaution.
Inoculation is the process of introducing your spawn to the substrate. Add your cooled coffee grounds to the container and mix in your oyster mushroom spawn at a ratio of roughly one part spawn to five parts grounds by volume. Mixing thoroughly ensures that the mycelium has even access to the substrate and reduces the likelihood of contamination taking hold in isolated pockets. Once mixed, seal your container but create small air holes using a toothpick or nail to allow gas exchange without letting in excessive outside air.
During the incubation phase, store your container in a dark location at room temperature, ideally between 65 and 75 degrees Fahrenheit. Over the course of two to four weeks, you will observe the coffee grounds becoming progressively covered in white, thread-like mycelium. This colonization is a sign that your culture is healthy and progressing as expected. A faintly sweet, mushroom-like smell is normal. Any patches of green, black, or pink discoloration indicate contamination and should be addressed by removing affected areas or, if widespread, starting fresh.
Fruiting, Harvesting, and Successive Flushes
Once the substrate is fully colonized and appears uniformly white throughout, it is time to initiate fruiting. Move your container to a location with indirect natural light and higher ambient humidity. You can increase humidity by lightly misting the exterior of your container or by placing it inside a loosely sealed larger bag with a small amount of water misted inside. Mushrooms require fresh air exchange and moisture at this stage, so briefly open the container or bag each day to allow air to circulate.
Within a week of initiating fruiting conditions, small pin-like structures will begin to emerge from the surface of the colonized grounds. These primordia, often called pins, are the earliest visible stage of mushroom development. They will grow rapidly over the following days, expanding into the characteristic fan-shaped clusters that oyster mushrooms are known for. Harvest your mushrooms by twisting and pulling gently at the base of the cluster just before or as the caps begin to flatten and their edges start to curl upward. This timing captures the mushrooms at peak flavor and texture.
After your first harvest, allow the substrate to rest for a week before resuming misting and fruiting conditions. Most coffee-ground blocks will produce two to three flushes of mushrooms before the substrate is exhausted, with each successive flush typically slightly smaller than the last. Once fruiting is complete, the spent substrate can be added to a compost pile, where it will continue to break down and enrich the soil.
Sustainability Impact and Broader Implications
The environmental significance of this method extends well beyond the individual household. Coffee is one of the most widely consumed beverages on the planet, and the global coffee industry generates millions of tons of spent grounds annually. The vast majority of this material ends up in landfills, where it decomposes anaerobically and contributes to methane emissions. Redirecting even a fraction of this waste stream into productive use represents a meaningful intervention in the broader challenge of organic waste management.
From a food systems perspective, growing mushrooms at home using waste materials also challenges the assumption that fresh, nutritious food must travel long distances through complex supply chains before reaching a consumer. Oyster mushrooms grown at home are harvested within hours of being eaten, preserving their nutritional content and flavor in ways that commercially distributed mushrooms rarely can match. They are a rich source of protein, B vitamins, and compounds like beta-glucans that support immune function, making them a genuinely valuable addition to a home food supply.
The coffee grounds method also serves as an accessible entry point into the broader practice of home mycology. Many people who begin with this simple project go on to explore more complex substrates, different mushroom species, and even the fascinating science of fungal ecology. In this sense, the humble coffee ground block can become a gateway to a much deeper engagement with the living world.
Conclusion
Growing gourmet mushrooms on spent coffee grounds is one of those rare DIY projects that manages to be simultaneously simple, scientifically grounded, ecologically meaningful, and genuinely useful. It requires no specialized equipment, minimal financial investment, and only a modest amount of attention over several weeks. What it produces in return is fresh food, reduced household waste, and a tangible connection to one of the most ancient and fascinating kingdoms of life on Earth.
Whether you are an urban farmer looking to maximize the productivity of a small space, an environmentalist seeking concrete ways to reduce your ecological footprint, or simply a curious person who wants to try something new in the kitchen, this method offers a rewarding path forward. It is a reminder that sustainability does not always require grand gestures or expensive solutions. Sometimes it begins with something as ordinary as the grounds left at the bottom of your morning coffee cup.